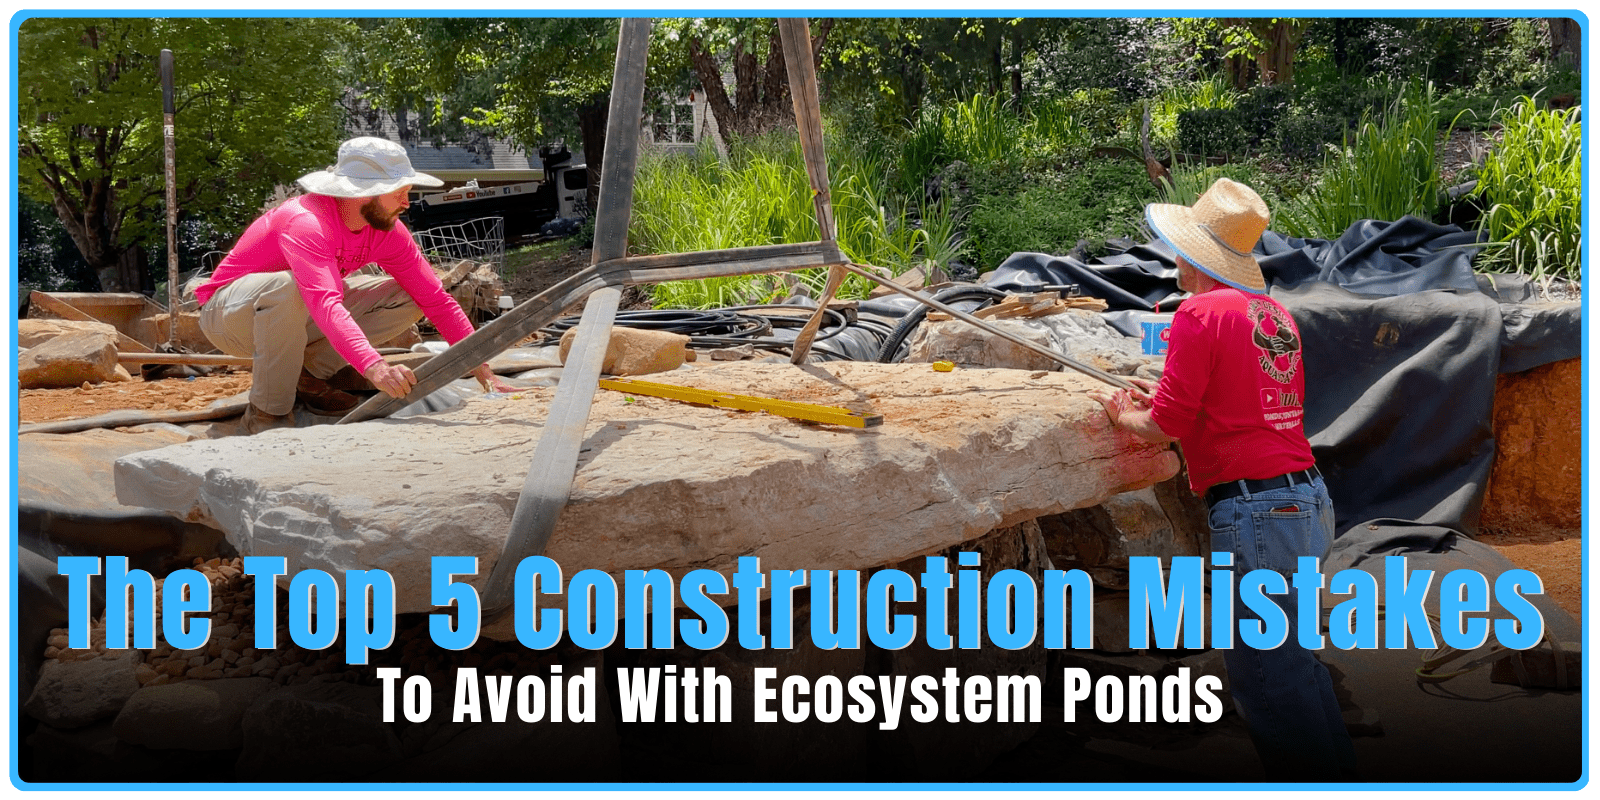
The 5 Most Common Ecosystem Pond Construction Mistakes (Quick Overview)
Before we go deep, here they are:
- Setting water level above grade
- Setting the skimmer too high
- Putting shallow shelves in the wrong places
- Using stones that are too small
- Using the wrong pump, plumbing, and filter combinations
Bonus:
- Not using rock outcroppings
If you avoid these mistakes, your pond will look better, function better, and last longer.
Jump to a Section
- Mistake #1 — Setting Water Level Above Grade
- Mistake #2 — Setting Your Skimmer Too High
- Mistake #3 — Putting Shallow Areas in the Wrong Places
- Mistake #4 — Using Stones That Are Too Small
- Mistake #5 — Using the Wrong Pump, Plumbing, and Filter Combinations
- Bonus — Not Using Rock Outcroppings
- Frequently Asked Questions
After building ecosystem ponds for decades, these are the five construction mistakes I see over and over again — from homeowners and professionals alike.
How Do I Determine Where to Set Water Level in My Pond?
Construction Mistake #1: Setting Water Level Above Grade
As a pond builder and connoisseur, it is one of my biggest pet peeves when I see people who don't know how to properly position water level in their pond.
This is very simple to me.
We have a minimum rule of three inches.
Take the adjacent surface — ground level, patio level, sidewalk level, I don't care what it is — and your water should be positioned three inches lower than that minimum.
Water level should always sit at least three inches below the adjacent finished surface.
If you have a patio next to it, water level should be three inches lower than the surface of the patio.
Enough with that.
If you don't do it, you want to know why?
Because it doesn't look right for starters.
There's no place on earth where there's a lake next to the beach and the water level in the lake is higher than the beach. It doesn't happen naturally.
It looks wrong.
It feels wrong.
You don't know what you don't know.
So problem number one is not positioning your water level properly.
Make sure you understand before you start construction where water level needs to be.
We then set what we call a benchmark — which is water level.
We determine water level, put a solid object somewhere on the job site that represents that level, and we work from that for the rest of the project.
That's all I've got to say about that 🙂
How Do I Know How High to Set My Skimmer for My Pond?
Construction Mistake #2: Setting Your Skimmer Too High
This mistake leads directly to problem number one. One usually begets the next.
I couldn't decide which one to put first, but oftentimes I just think people are afraid to use their shovel because it's work.
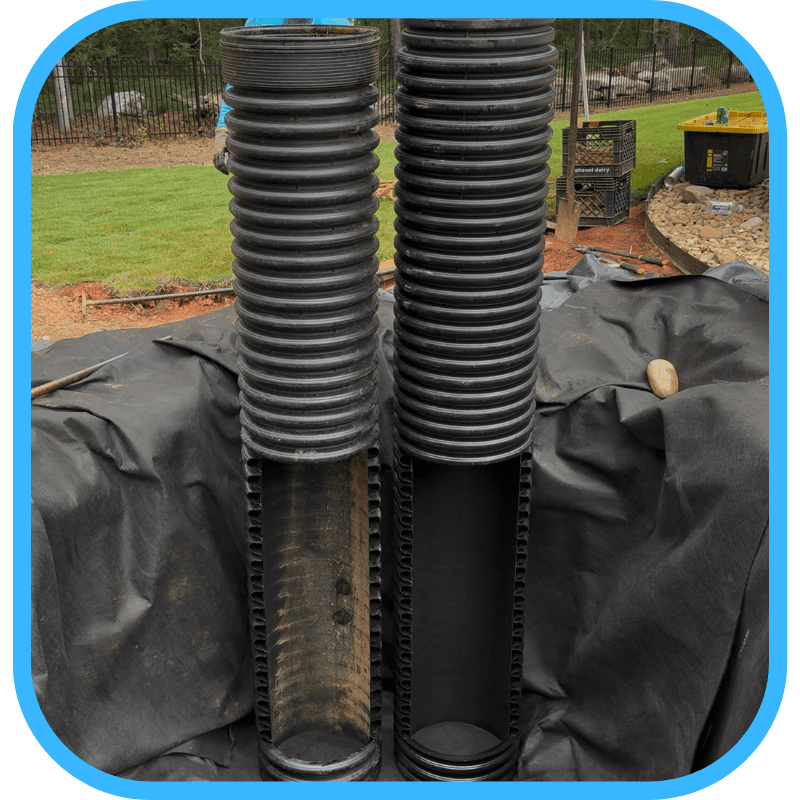
The reality is you have to understand how water level is determined by the skimmer you're using. If it's an overflow — whatever it is — you need to read the instructions and understand your skimmer!
I see this all the time, both with homeowners and professionals.
They put the skimmer in at the wrong height because they don't take the time to understand how it works properly. Then you end up in a situation where your pond doesn't end up being as deep as you thought it was.
Maybe it was two feet deep at the right skimmer setting.
Then later it's not. Now your water is 21 inches deep. After you put your gravel in, it's 18 inches deep. (Which is really lame) — because odds are you intended for it to be two feet deep.
Here's another issue.
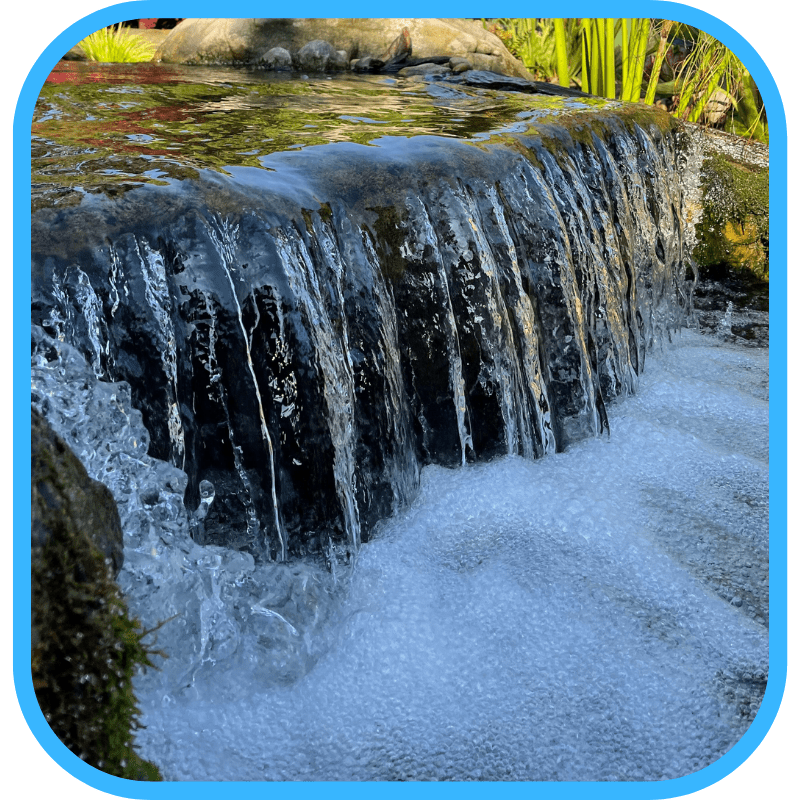
You need a certain amount of water going into the skimmer opening. When the pond is completely full, water level should be about three-quarters of an inch from the top of the skimmer opening.
If your skimmer is set too high, your water level will always be lower than it should be — and everything downstream suffers.
At full level, you might only have four inches of water in the skimmer instead of six.
That still works.
But when your water level drops a couple inches, now you've only got a couple inches of water feeding that skimmer. The skimmer doesn't work properly. Water rushes in too fast. Your pump starts sucking air. It makes an awful noise. It's bad for your pump.
And if your fish happen to go into the skimmer box, the water's running so fast they can't get back out. They end up trapped in the basket.
It's just adding insult to injury.
Then when they realize this is a problem, what do people do?
They try to puff the dirt up around the outside of the pond so they can raise the water level inside the skimmer.
And now you've created the exact problem we talked about in mistake number one.
Once you understand these two mistakes, you understand how important it is to get the skimmer height right and how important it is to set water level properly — so the pond functions correctly and doesn't look ridiculous 😉
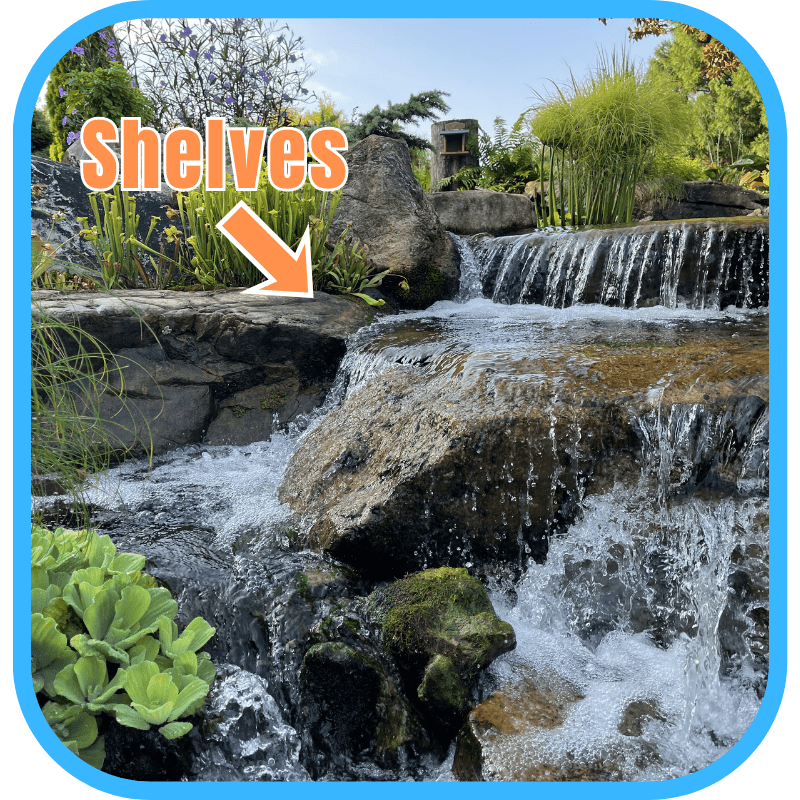
Where Should I Have Shelves Inside My Ecosystem Pond?
Construction Mistake #3: Putting Shallow Areas in the Wrong Places
I'm not going to sugarcoat this.
A lot of the way ponds are taught today is about speed. How fast can you build a pond in order to increase profits?
If you put a shallow shelf all the way around the pond, it's less digging.
Less dirt to move.
Faster to stack rocks back in.
Less technical skill required.
It's faster. It's cheaper. It's easier.
And I understand that philosophy.
But we're talking about how to build a great pond here.
One of the things I can't stand is when people put shallow shelves all the way around the pond.
First problem — a shallow shelf is a great place for a heron to stand.
Yes, they're good for planting aquatic plants.
Yes, herons are aggressive.
Yes, they're always going to try to catch your fish.
But we don't want to create a heron habitat.
We're building a habitat for fish.
Second problem — viewing.
If you put shallow shelves in the viewing area — meaning the side of the pond you're sitting next to — and you plant aquatics along that edge, what happens?
They grow.
And the first thing they do is block your view of the pond.
So realistically, if you're putting shallow shelves in, put them across the back where the waterfall is.
Let the shallow shelves live behind the waterfall.
Let the deep water be on your interaction side.
Your viewing side.
That's how you lay it out.
If you want your pond to look bigger, deeper, and more dramatic from where you sit — keep your depth in the viewing area and push your shelves to the back.
Now, could I teach a masterclass on planting aquatics without using shallow shelves everywhere? Absolutely.
You can create plant pockets.
You can create intentional planting zones.
You can do it without sacrificing depth.
But you can't do that and hit the absolute lowest price point available in water feature construction.
So you have to decide.
Do you want to do extra work, pay extra money, and build it extra cool?
Or do you want to go fast and furious to save time, sweat, and money?
The choice is yours.
The results speak for themselves.
Go look at ponds.
Look at how they're laid out.
Look at how they're excavated.
Look at the rock selection.
And then decide — with everything you've got going on between your ears — what direction is right for you.
What Size Rock Should I Use to Build My Pond?
Construction Mistake #4: Using Stones That Are Too Small
I understand why people use stones that are too small.
It's easy.
They're easy to carry.
You don't need equipment.
You can move them by hand.
You use less rock.
You don't have to purchase as much.
The reasons go on and on.
Now let me tell you why it's a bad idea.
They cave in.
They cave in.
They cave in.
They don't look good.
They don't look natural.
It's not organic.
I've done it. I've been there. That's where I started.
But the reality is this:
You should build your water feature to scale. The bigger your pond, the bigger the stones need to be.
If you want a pond that looks natural and lasts long term, use the biggest stones you can realistically manage.
We've even got a video that Tristan just shot called Why We Use Giant Rocks or something like that. You can check it out if you want to.
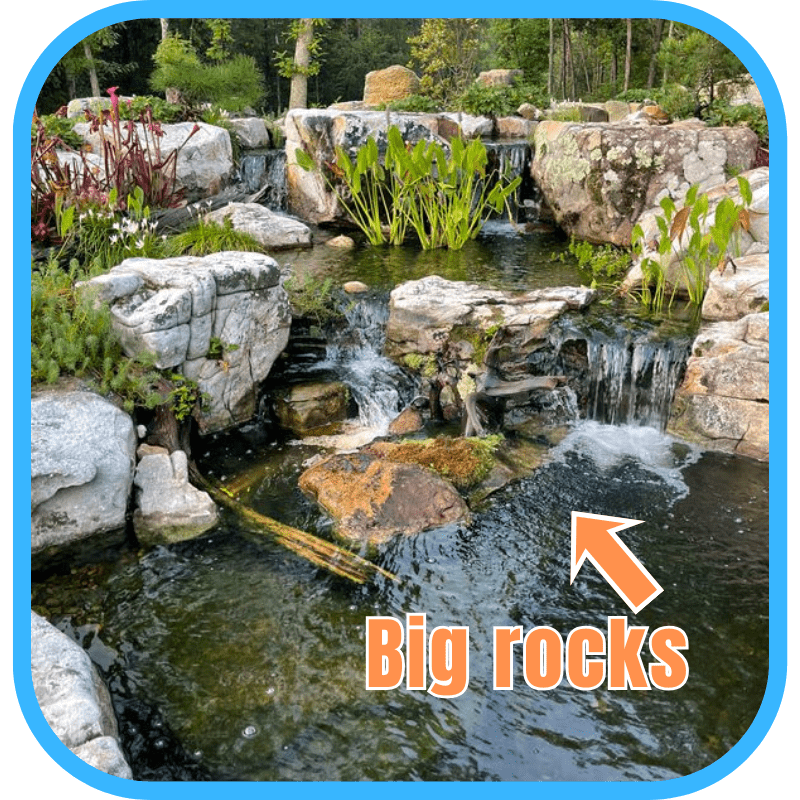
Using larger stones is important to the overall aesthetics of a project.
And yes — it costs more.
Yes — it takes longer.
Yes — you need equipment.
Yes — you've got to know how to strap rocks if you get big enough.
But they don't cave in.
They don't fall down.
They protect your liner from UV.
They create a much more long-term professional construction.
And they blend far more harmoniously into the surrounding landscape.
Guys, I can't say it enough.
Use the biggest stones you can manage to use to build your water feature.
You won't regret it later.
Your back might hurt a little.
But your eyes will say thank you.
And you will love your pond more if you use big rocks.
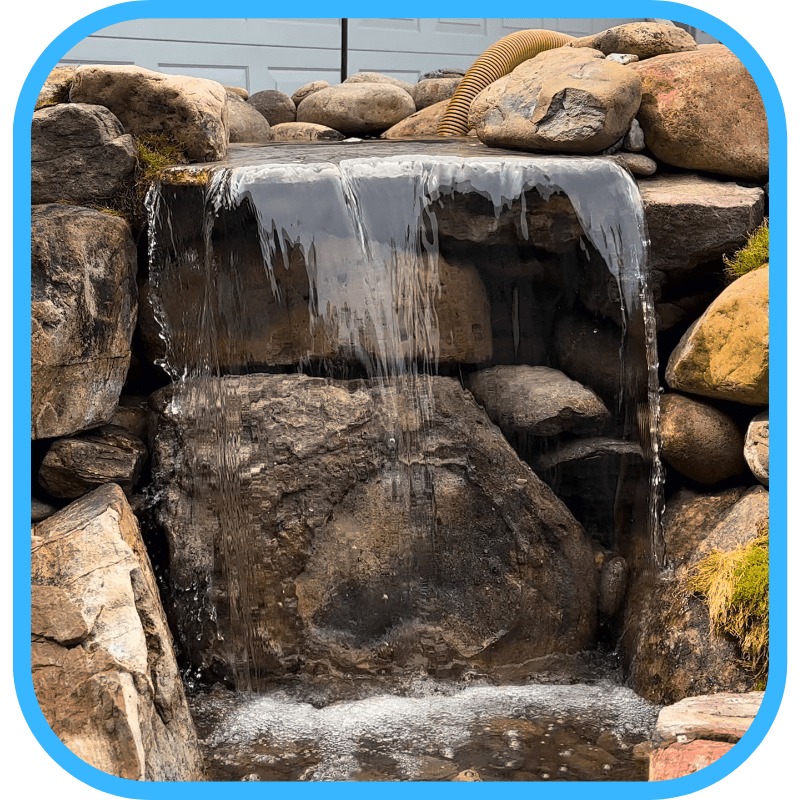
What Do I Need to Know About My Pump, Plumbing, and Filter?
Construction Mistake #5: Using the Wrong Pump, Plumbing, and Filter Combinations
This could be an entire article all by itself.
Wrong pump.
Wrong plumbing.
Wrong filter.
People just pick a pump. They go online, buy a pond kit, and it comes with a pump — and that's the end of the thought process.
There is not one pump that rules them all.
There is a perfect pump for every water feature application!
You have to understand how a pump operates in its sweet spot to get maximum energy efficiency and maximum lifespan out of it. You have to know which pump to use in which situation.
It's a mathematical equation. We're not going into it here.
But understand this:
There is not one pump that works for every situation. There is a right pump for each situation — and it depends on the system.
Now let's talk plumbing.
Smaller plumbing is cheaper. It's easier to install — but it creates more resistance.
More resistance means less water flow for more electricity.
If you spend more money on plumbing up front and use larger pipe diameters, you reduce friction loss. That means higher efficiency, more water flow, and better performance out of your pump.
Now filtration.
Every filter has limitations.
Biological filter. Canister filter. UV filter.
They all have minimum and maximum flow ratings.
For a filter to work effectively, it has to operate within its designed flow range.
That means you size your filter to your actual flow — not to the number printed on your pump.
You might have a 5,000 gallon-per-hour pump, but because of friction loss, head pressure, and plumbing design, you might only be getting 3,000 gallons per hour at your waterfall.
Your filter must be sized to the real flow, not the advertised pump number.
If you don't understand that, get help.
Call the manufacturer.
Do the homework.
Talk to someone who understands it.
Because when pump, plumbing, and filtration are properly matched, you get:
Better energy efficiency.
More water flow for less electricity.
Longer equipment lifespan.
And better overall performance.
It's a marriage — the right pump to the right plumbing to the right filtration.
When those three work together, your water feature works the way it's supposed to.
Do I Need Stones Outside Of My Pond?
Bonus: Not Using Rock Outcroppings
This isn't really a construction mistake.
It doesn't affect functionality.
It mostly affects my feelings 😉
When someone builds a water feature — especially with small rocks — they end up with what we call the pearl necklace effect.
You get this outer ring around the pond. A tight border of small, similarly sized stones. It separates the pond from the landscape AND it looks so unnatural!
Nowhere in nature will you ever see a water feature where the only rocks are the ones touching the water and there are zero rocks outside the water.
That's not how it works.
My friends — use rock outcroppings, use accent stones, use accent boulders.
Bring those stones out into the landscape, create walls, create drifts of rock.
Go out into the real world and look at how stone interacts around natural bodies of water. Then bring that same ambiance back to your own project.
Yes, it takes extra rock.
Yes, it takes extra labor.
Yes, it costs more money.
I understand.
But once it's landscaped and the plants start blending toward the water, and you've got rocks inside and outside the pond, you start to achieve a natural harmony that takes the whole thing to another level.
That's where it starts to feel real.

Frequently Asked Questions About Ecosystem Pond Construction
What is the most common pond construction mistake?
How deep should an ecosystem pond be?
Can I use smaller rocks to save money?
How do I know if my pump and filter are sized correctly?
Closing
It's always my goal to educate and inspire the world about ponds, fountains, and waterfalls. I appreciate you being here and I hope you took something with you that makes your project better!
John G. out.
Start a Conversation
No pressure. No used car salesman tactics. Just an honest conversation to see if we're a good fit and to help you end up with the water feature of your dreams.
Contact Us— John G. Adams